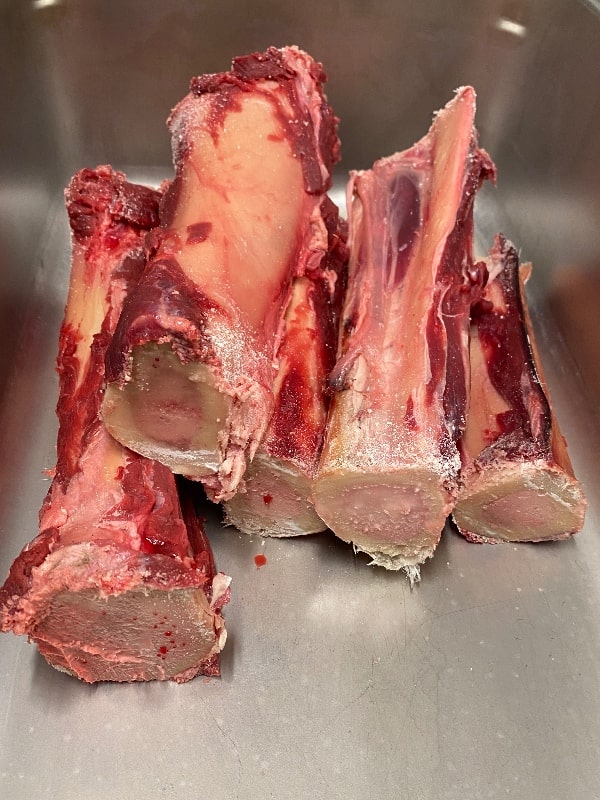
One of my favorite things about fall is helping Jimmy process a moose. It’s a huge job – the average bull moose yields 500 pounds of meat, but it’s extremely rewarding. *Details for butchering tools are at the end of this post.*
The Hunt
As you might assume – the first step in the process is to harvest the animal! To date, I haven’t been part of the hunts. I’d love to join sometime, but for now, I stick to being the butcher maid.


After the moose is skinned and gutted, it is “quartered” and hung and placed in game bags for transport back to camp. Once back at camp, the game bags are removed and the meat is hung so it can stay dry. The meat will remain this way in the field until the hunting trip is over. I put quotations around quartered above because there are actually at least 7 portions of meat – the neck, ribs (x2), legs (x4). Plus the back straps, tenderloins, and organs. Since its fall in Alaska and the guys are hunting in the mountains, the daily highs can be anywhere from 30-50* and the lows in the 20 to 30 degree range.


Aging the Meat
Once the hunting trip is over, we move the meat to an unheated garage to let it age. The meat is hung and the game bags are removed. We age our meat for 10-14 days. A lot of people that don’t understand this process might think it’s gross, but it’s not! Average supermarket beef is aged 5-17 days and high end beef up to 30 days. Aging meat gives it a richer flavor and makes it more tender.

Some Alaskans have a special connex for this process that is converted to a ‘refrigerator’ just for this purpose. We hang ours in an unheated garage. Usually we have favorable enough weather that I am able to let the cold air in at night and trap it in for the day. We shoot to keep the space 45* or below. We also have a fan on the meat at all times so it’s dry. Bugs are not an issue either.
Deboning the Meat
When you dry age meat, it forms a layer on the outside of the meat that is called “pellicle”. This is a protective layer that we refer to as the bark. It is extremely hard to chew, you wouldn’t want to leave it on. After that is removed, the meat gets removed from the bone and we trim any unwanted sinew (fibrous, connective tissue).
As we are taking the meat off the bone, we are mindful of what we want for steaks, roasts, and meat for grinding. We sort the meat as we go. Roasts are cut and packaged in 4-5lb packages and we typically package steaks in packages of 2.

Moose Burger & Sausage
Meat that is headed for the grinder is cut into smaller cubes that can fit into the grinder. We add 7% beef fat to our moose burger. We have great recipes for Italian sausage and breakfast sausage as well. I like to get bulk spices from Azure Standard and use salt from Redmond Real Salt.
We cube up all the necessary meat and fat for the sausage and add it all to a large tote. Then we pour the sausage ingredients over the cubes before grinding. This way it gets ‘mixed’ by us, and then the grinder twice. We grind once with the course attachment and then again with the fine attachment.
Packaging & Sealing
We prefer to package in 1 pound packages. We weigh the meat in a bowl before adding to the bag. The sausages are so sticky that we make an oblong roll so we can drop the meat in without getting the sides of the bag too messy. The burger is way easier. We use a VacMaster chamber sealer (details below) for packaging our meat. We’ve used it for over 6 years and don’t have any complaints! Sealing does take around 40 seconds per bag, so we make sure to replace bags quickly or sealing will slow your process down.
Flattening & Storage
We like to flatten our bags for optimum freezer storage. This method allows us to get close to 100 lbs on one shelf in a stand up freezer! The bags also thaw VERY quickly! A common question is: does the meat get freezer burned this way? Nope! We’ve never had an issue with that. We typically consume all our ground meat within a year though.

If you enjoyed this blog post, be sure to go check our Instagram videos here and here – both have over a million views! Also answered some common questions here.
Tools
Here’s a list of our favorite tools:
- Chamber Sealer: VacMaster VP215, we’ve had this for over 6 years and it has been great! We change the oil once a year. We prefer to get our bags from Alaska Butcher Supply to support local business, and they are higher quality compared to what’s on Amazon, but we’ve used both. Code HAPPYHOME will save you 15% (not commissioned, they just gave me a code to share!)
- Grinder: Cabelas 1 horse grinder, we’ve also had this over 6 years and have no complaints.
- Food Safe Bins: Make sure they food grade and fit under whatever grinder you have. We also have some stainless steel bins as well.
- Seasonings: I get our bulk salt from Redmond Real Salt and all our seasonings from Azure Standard.
- Knives: We use a variety of knives we’ve collected over the years, here are a few of our favorite styles.
- My husband prefers this knife for skinning and breaking down the moose in the field.
- Boning knife
- Butcher knife
- Slicing knife
- Breaking knife
- Table risers: These SAVE your back from being hunched over for hours on end.
- Game Bags: These are more of an investment compared to the cheap cotton ones, but are much higher quality.
If you are an Alaskan and can make it to Anchorage, Alaska Butcher Supply is wonderful. They have higher quality chamber seal bags, seasoning mixes, knives, food grade bins, etc.
I’ve had requests for our sausage recipes, I’ll be posting those soon!


0 Comments